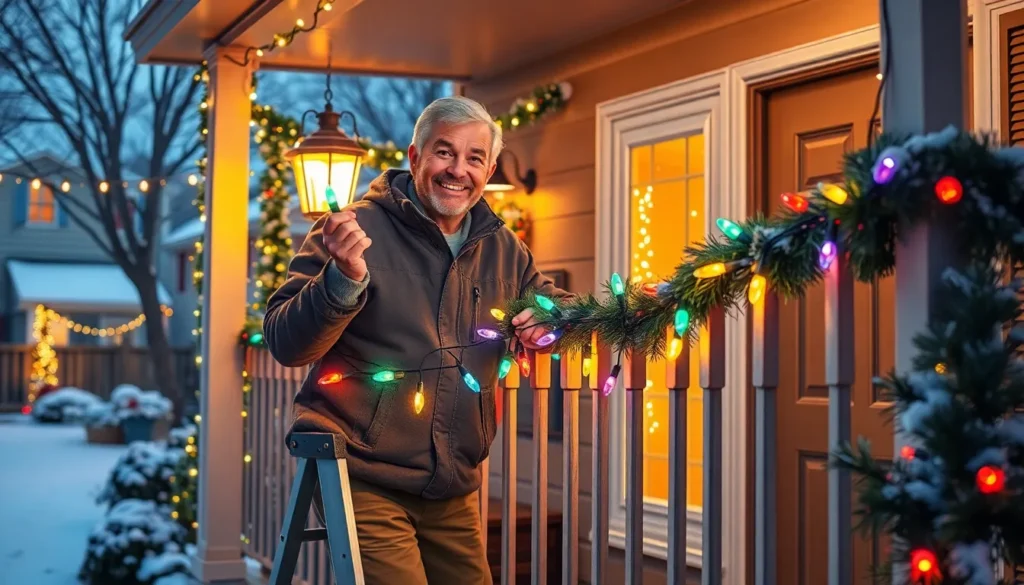

Nothing says “holiday spirit” like a dazzling display of Christmas lights—until they flicker out, leaving you in the dark. When that happens, don’t panic! Changing a fuse in those twinkling strands is easier than finding a parking spot at the mall during the holiday rush. With just a few simple steps, you can bring back the festive glow and avoid the dreaded “Grinch” moment.
Imagine the joy on your family’s faces as those lights spring back to life, illuminating your home like a winter wonderland. Armed with a little know-how and a dash of holiday cheer, you can tackle this task with confidence. So grab your toolkit and let’s shed some light on how to change that fuse—because who wants to be the house with the darkened porch this season?
Understanding Christmas Light Fuses
Fuses play a crucial role in the functionality of Christmas lights. They protect the electrical components from overload by breaking the circuit when excessive current flows. Restoring these lights often requires changing the fuse, making understanding their importance essential.
Importance of Fuses in Christmas Lights
Fuses ensure safety by preventing electrical fires caused by overloaded circuits. These components act as a safeguard, stopping excessive current before it damages light strings or creates hazards. Additionally, replacing a blown fuse restores power, allowing families to enjoy the festive cheer without disruption. Knowing how fuses work helps in troubleshooting lighting problems effectively.
Common Types of Fuses Used
Various types of fuses exist for Christmas lights, with the most common being glass tube and blade fuses. Glass tube fuses are cylindrical and often found in older light strings, while blade fuses are rectangular and frequently used in newer strands. Both types come in specific amp ratings, typically ranging from 2 to 15 amps, and matching the correct rating is vital for safe operation. Recognizing these types facilitates easy replacement and ensures that lights shine brightly throughout the holiday season.
Tools and Materials Needed
Changing a fuse in Christmas lights requires specific tools and materials. Collecting these items beforehand simplifies the process and ensures efficiency.
Essential Tools
- Wire cutters help to strip insulation from wires if necessary.
- A flathead screwdriver assists in opening light fixtures for fuse access.
- Pliers can grip and remove the old fuse during the replacement.
- A voltage tester ensures that power is off before starting work.
Replacement Fuses
- Glass tube fuses commonly protect older light sets, requiring careful handling.
- Blade fuses fit more modern light strands, offering varied amperage ratings.
- Always choose replacement fuses that match the amp rating of the original, generally 2.5 to 15 amps.
- Purchase fuses from local hardware stores or online retailers, ensuring compatibility for safety and reliability.
Step-by-Step Guide to Changing a Fuse
Changing a fuse in Christmas lights is straightforward when following a few simple steps. Each step ensures the lights shine brightly again, allowing families to enjoy their festive decorations.
Identifying the Fuse Box
First, locate the fuse box in the Christmas light strand. It’s often found in the plug or within a small compartment on the light strand. Open the compartment carefully to reveal the fuse. Check for any signs of damage or discoloration, which can indicate a blown fuse. Understanding the type of fuse used is crucial for the next steps. Many strands contain either glass tube or blade fuses, so identifying the correct type ensures compatibility with replacements.
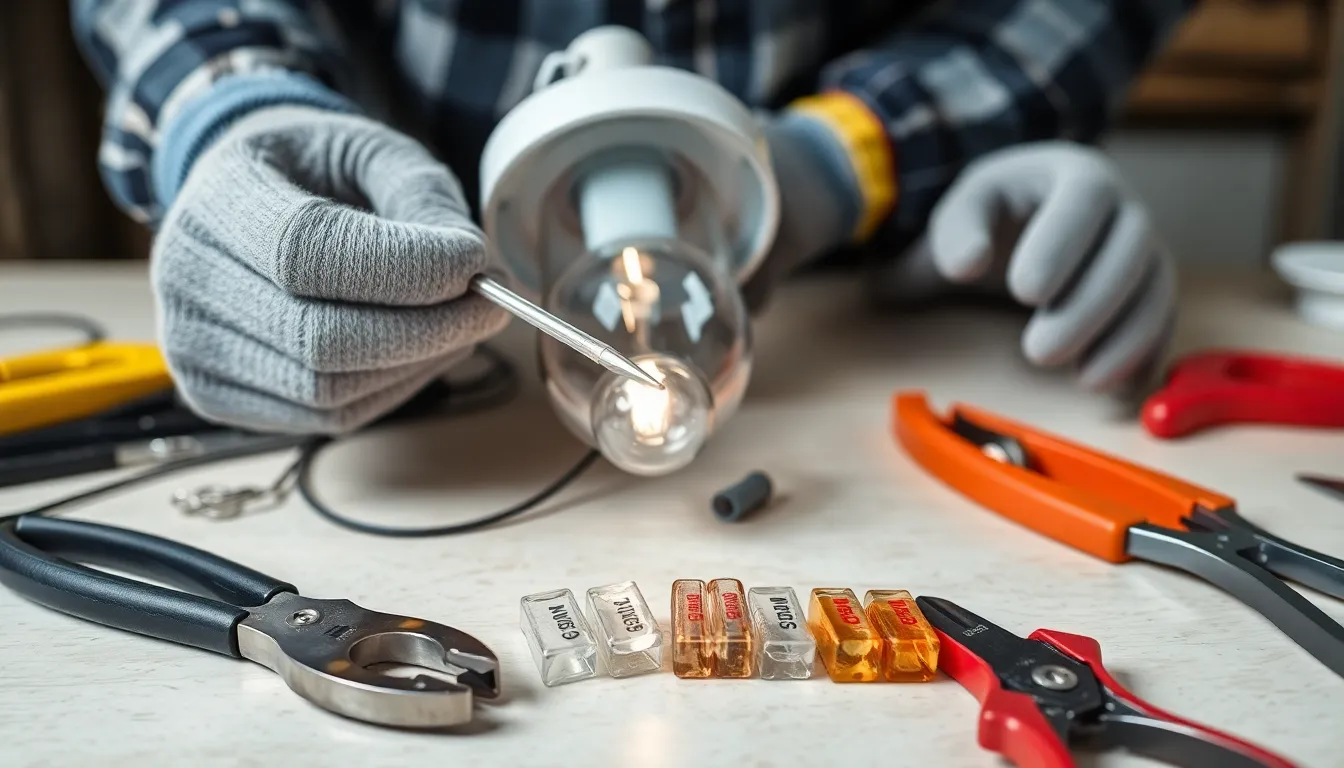
Removing the Old Fuse
Removing the old fuse is the next move. Use a flathead screwdriver or your fingers to gently pry the old fuse out of its socket. Be cautious during this process, as excess force may damage the compartment. Inspect the old fuse for visual signs of failure. A cloudy appearance or a broken filament indicates it needs replacement. Securely set the old fuse aside to avoid confusion. Keeping track of any additional components located in the same compartment is a good practice for easy reassembly.
Installing the New Fuse
Installing the new fuse completes the process. Start by choosing a replacement with the same amp rating as the old one, typically between 2.5 to 15 amps. Insert the new fuse into the designated slot, ensuring it sits snugly in place. Push until it clicks firmly, indicating proper installation. After securing the new fuse, close the compartment to protect it from dust and moisture. Always test the lights to confirm functionality. A successful test restores the festive glow, satisfying holiday spirits and brightening up homes.
Safety Precautions to Consider
Safety is paramount when changing fuses in Christmas lights. Following safety measures ensures a smooth process without accidents.
Disconnecting Power
Always unplug the lights before starting any work. Power disconnection eliminates the risk of electrical shock. Checking that the lights are not connected provides peace of mind. Using a circuit tester can confirm the lights are safe to handle. Searching for additional power sources, such as timers or extension cords, helps ensure everything is properly unplugged.
Handling Fuses Safely
Handle fuses with care to avoid injuries. Wearing safety gloves minimizes the risk of cuts from glass or metal parts. Avoid touching exposed wires or the metal ends of fuses. Placing fuses on a stable surface prevents accidental drops. Read the packaging for specific fuse replacement instructions to ensure proper usage. Following these guidelines protects against potential hazards during the repair process.
Changing a fuse in Christmas lights is a straightforward task that can bring back the festive spirit in any home. By following the steps outlined and prioritizing safety, anyone can tackle this common issue with ease. With the right tools and knowledge about fuses, the process becomes even simpler.
Restoring lights not only enhances the holiday atmosphere but also ensures safety by preventing electrical hazards. Embracing this small maintenance task allows families to enjoy a bright and joyful season together. So when those lights go out, there’s no need to panic—just gather the materials and get started.