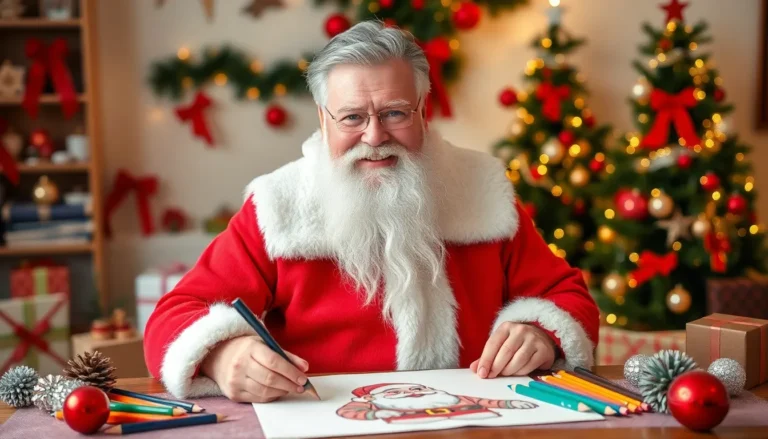
It’s that magical time of year again when holiday cheer fills the air and the jolly old man in red comes to life! Drawing Santa Claus isn’t just a fun activity; it’s a chance to unleash creativity and spread joy. Whether you’re a seasoned artist or someone who can’t draw a straight line, this guide will help anyone create a delightful Santa that even the North Pole would envy.
Imagine impressing friends and family with your festive masterpiece, all while chuckling at Santa’s silly expressions. From his fluffy beard to that iconic belly, every detail adds to his charm. Grab your pencils, and let’s dive into the whimsical world of Santa Claus drawing. After all, who wouldn’t want to channel their inner artist and bring a little holiday magic to life?
Materials Needed
Pencil serves as the foundational tool for sketching Santa Claus. Use a reliable pencil to outline essential shapes first, ensuring a smooth start to your drawing.
Inking pens add detail and definition to the artwork. Choose fine-tip pens for intricate features like Santa’s beard and facial expressions, enhancing the overall look.
Colored pencils or markers provide vibrant hues for Santa’s outfit. Select red for the suit and black for the belt, retaining the classic Christmas palette that everyone recognizes.
Erasers assist in correcting minor mistakes, allowing flexibility during the drawing process. It’s essential to have a quality eraser to clean up any unwanted marks without damaging the paper.
Paper of good quality supports the drawing medium effectively. Opt for thicker paper to prevent bleed-through from markers and maintain the integrity of pencil and ink.
A reference image could greatly improve the drawing experience. Having a clear picture of Santa for guidance ensures accurate proportions and characteristics.
Ruler aids in achieving straight lines and symmetry in Santa’s attire and surroundings. Use a ruler for the toy sack or sleigh, creating a polished finish.
Lastly, a festive environment can enhance creativity. Surrounding oneself with holiday decorations or playing cheerful music can inspire a joyful atmosphere while drawing.
Gather these materials before starting, ensuring a smooth and enjoyable drawing session.
Basic Shapes for Santa
Establishing basic shapes simplifies the drawing process. By breaking down Santa Claus into fundamental forms, artists achieve a solid foundation for their creations.
Drawing the Head
Start with a circle for Santa’s head, laying the groundwork for facial features. Add a horizontal oval for his beard, ensuring it overlaps the circle. Next, incorporate smaller circles for the eyes and a rounded triangle for the nose. Delineate the mouth with a gentle curve beneath the nose. These shapes establish proportions and help create Santa’s cheerful expression.
Creating the Body
Use an oval for Santa’s body, capturing his jolly figure. Draw two smaller ovals on either side for the arms. A larger oval serves as the belly, enhancing his iconic shape. For the legs, sketch two elongated rectangles anchored by rounded shapes for the boots. This arrangement reinforces Santa’s cheerful demeanor, ensuring the character feels inviting and approachable.
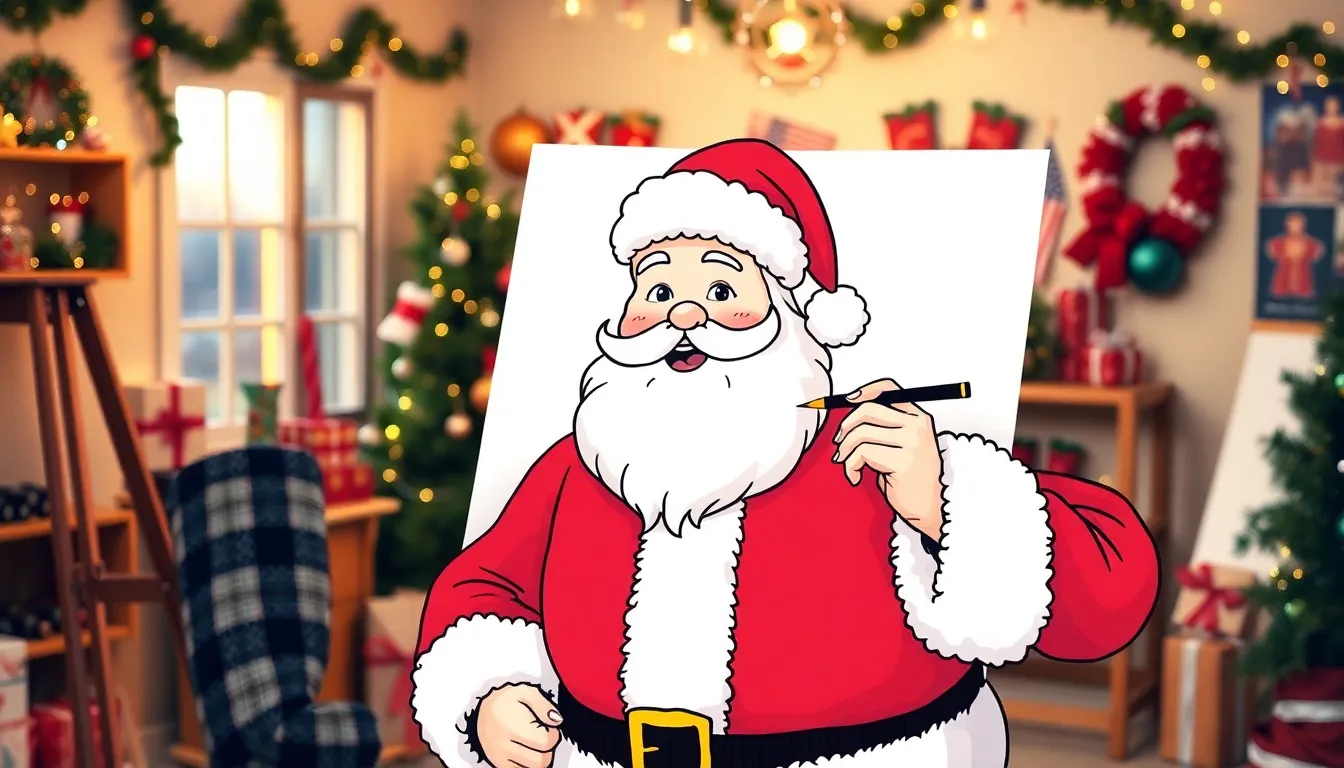
Adding Details to Santa
Adding details brings Santa to life in a drawing. Focus on facial features and clothing to enhance the festive vibe.
Facial Features
Start with Santa’s eyes, making them round and expressive. Tiny highlights add sparkle and warmth, capturing his jolly spirit. For the nose, use a rounded triangle, and don’t forget the rosy cheeks. A fluffy beard needs texture, so sketch soft, curved lines that create dimension. Define the mouth with a gentle curve, ensuring it reflects Santa’s cheerful demeanor. Notably, eyebrows can convey emotion; thick, arched shapes function well here. Finally, blend these elements to create a cohesive and inviting expression that resonates with the holiday joy.
Clothing and Accessories
Focus on Santa’s iconic suit, starting with a red jacket featuring white trim. Add details like buttons or a belt to give depth. For the sleeves, fluffy cuffs enhance the overall appearance. His trousers, also red, should match the coat’s style. Draw black boots at the base, emphasizing their size and shape. A signature red hat completes the look; incorporate a white pom-pom for a festive touch. Texturing can bring the materials to life, showcasing shiny boots and soft fabric. Accessories, like a bag of gifts or jingle bells, elevate the drawing’s festive quality.
Coloring Your Santa Claus
Coloring your Santa Claus drawing adds vibrancy and warmth, making it come to life. Choosing the right colors and applying shading techniques enhances the festive appeal.
Choosing Colors
Select colors that evoke the spirit of Christmas. Red hues bring Santa’s suit to life, while white can represent the fluffy trim and hat. Using skin tones for the face, a variety of browns for the beard, and pink for rosy cheeks creates depth. For background elements, consider winter-themed colors like blues and whites to contrast against Santa. Incorporating a golden yellow for details, such as bells or star accents, provides a cheerful touch.
Techniques for Shading
Employing shading techniques adds dimension to your Santa drawing. Begin by identifying light sources, determining where shadows fall on Santa’s suit, face, and beard. Use a lighter touch with colored pencils or markers to create soft gradients. For darker areas, apply deeper shades for shadows. Blending techniques can soften transitions, making colors appear more natural. Adding highlights, especially on the beard and pom-pom, gives Santa a lively character, enhancing the overall festive charm.
Final Touches
Adding final touches makes the Santa drawing come to life. Start by refining the lines with an inking pen, emphasizing contours around Santa’s beard, hat, and clothing. Ensure lines are smooth and clear; this step enhances overall visual clarity.
Next, focus on the facial details. Create highlights in Santa’s eyes using a white gel pen or the lightest color. This small addition adds warmth, making the character feel more inviting. For the rosy cheeks, gently blend pink tones to achieve a natural flush.
Color layering should accompany the final touches. Apply deep reds to Santa’s suit and use lighter shades for the white trim. Achieving depth in colors adds vibrancy and realism. Utilize blending techniques to create soft transitions, particularly on the shadowed areas of his belly and folds in his clothing.
Background elements can also enhance the composition. Consider adding festive touches, such as snowflakes, Christmas trees, or presents. Light blues or soft whites work well to create a winter backdrop that complements Santa’s colors.
Finally, step back and review the drawing. Examining from a distance can provide a fresh perspective on balance and cohesiveness. Small adjustments, like reinforcing shadows or enhancing highlights, can elevate the drawing further.
These final touches transform a good drawing into an impressive piece of art, ready to showcase during the holiday season.
Drawing Santa Claus is a delightful way to celebrate the holiday season. With the right materials and a step-by-step approach, anyone can create a charming depiction of this beloved figure.
By focusing on the details and adding vibrant colors, artists can bring their Santa to life. The joy of creating art not only enhances creativity but also spreads holiday cheer.
Whether it’s for personal enjoyment or to share with loved ones, capturing Santa’s whimsical spirit through drawing is a rewarding experience. So grab those pencils and let the festive spirit inspire the artistic journey.